How to Replace a Mechanical Seal on a Pump, Step by Step
Replacing a mechanical seal is not difficult. Replacing one so it lasts three years instead of three weeks is where the skill sits, and almost all of that is in preparation and commissioning rather than the fitting itself.
Here is the sequence I use, followed by the questions engineers ask me most.
Before you start
Get these in front of you:
- The pump general arrangement drawing, or at least the seal chamber dimensions.
- The correct seal, with the setting length noted if it is a component seal.
- New gaskets and O rings. Never reuse them.
- Clean lint free cloth, isopropanol, and light oil or seal lubricant that is compatible with the process fluid.
- A dial indicator or laser kit for the coupling.
Step by step
1. Isolate and make safe. Lock off and tag the motor. Close suction and discharge valves. Depressurise, drain and flush the casing. Treat the residue as if it is still hazardous, because it usually is.
2. Remove the coupling guard and coupling. Mark the coupling halves so they go back the same way.
3. Unbolt the seal gland evenly. Crossed pattern, a little at a time. If you have a quench or flush line, disconnect and label it.
4. Withdraw the rotating element. On a back pull out pump the casing and pipework stay put.
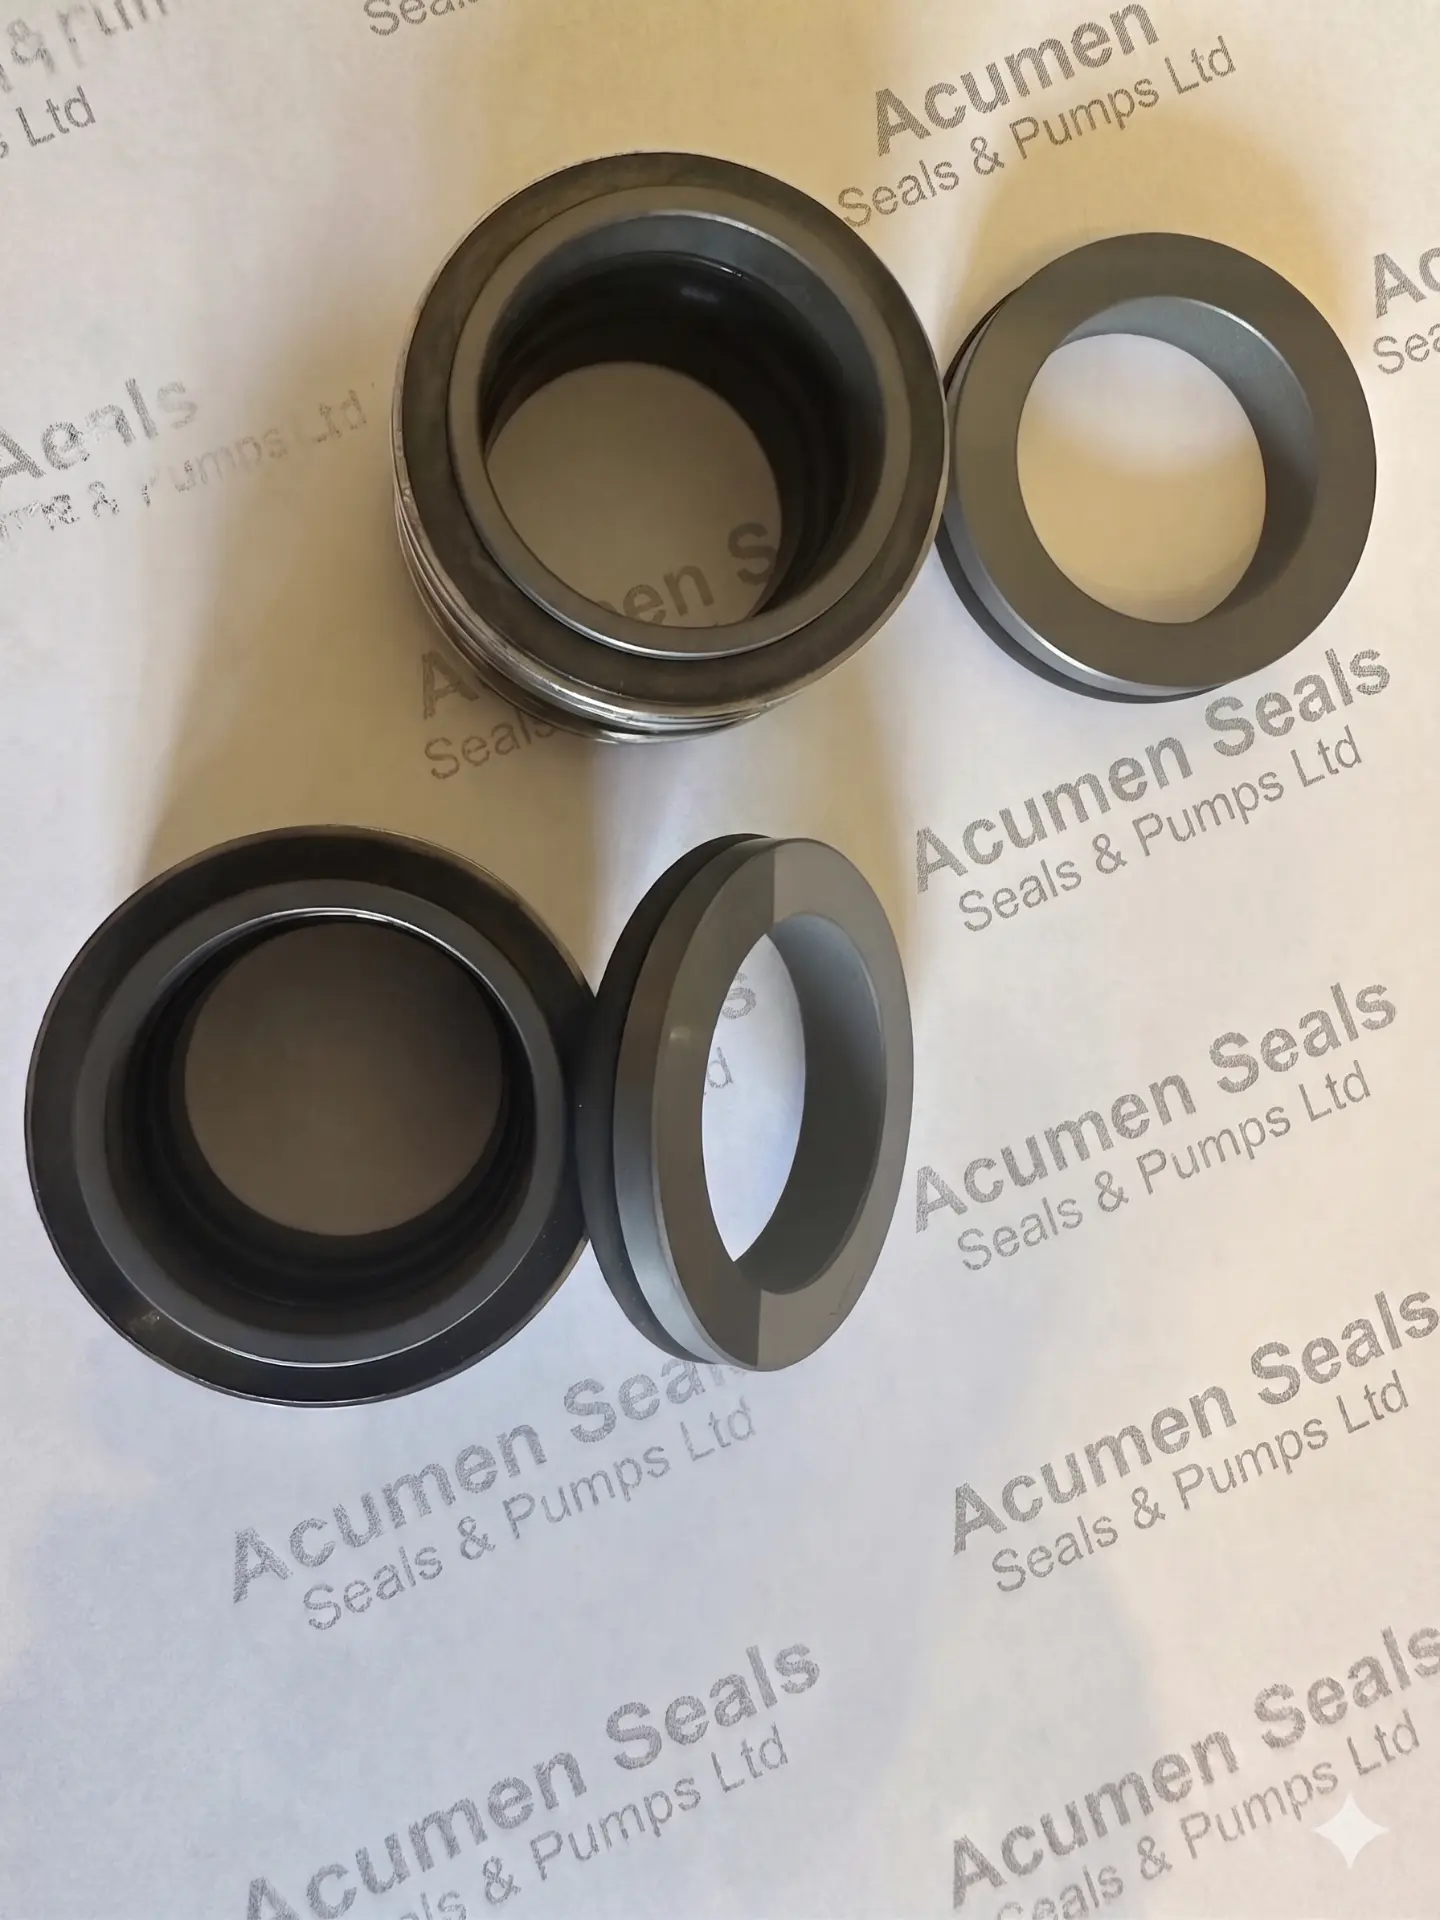
5. Remove the old seal and photograph it. Before you clean anything, look at the faces. The wear pattern tells you why it failed. Even heavy contact all round is normal wear. A polished band with heat cracks is dry running. Deposits and grooving is abrasion or crystallisation. Blistering on a carbon face is usually gas or thermal shock.
6. Inspect the shaft or sleeve. Check for fretting under the old O ring position, scoring, and runout. Fit a new sleeve if the surface under the dynamic O ring is not smooth. A seal cannot follow a shaft it cannot slide on.
7. Clean the seal chamber and gland face. Any residual gasket, scale or grit will cause a leak path or a face lift.
8. Fit the stationary seat. Lubricate the O ring, push it in square with thumb pressure only, never a hammer. Check the anti rotation pin is engaged and not fouling. Wipe the face clean, last thing before assembly.
9. Fit the rotating assembly. Lubricate the dynamic elastomer, slide it past keyways with a protective sleeve or tape, and set the setting length from the reference face using the manufacturer's dimension. On a cartridge seal, simply mount it, tighten the drive collar grub screws, bolt the gland, then remove the setting clips. In that order, or you will lose the setting.
10. Refit the gland. Even, crossed pattern, to torque. An uneven gland cocks the stationary face and the seal will weep from day one.
11. Reassemble and reset impeller clearance. Then re align the coupling cold, and check for pipe strain by loosening flange bolts and watching for movement.
12. Commission properly. Fill and vent the pump fully. Connect and prove the flush or quench before the motor turns. Start and confirm flow immediately. Never run the pump dry, even for a few seconds, to check rotation.
The mistakes that kill new seals
- No venting. Air pocket at the seal faces, dry run, heat check, leak within days.
- Wrong setting length. Under compressed faces leak, over compressed faces cook.
- Damaged elastomer on assembly. Sharp keyway edges and no lubricant.
- Dirty faces. A fingerprint is enough to open a leak path on a lapped face.
- Reusing a worn sleeve. Fretting under the dynamic O ring stops the seal tracking shaft movement.
- Skipping alignment. Misalignment loads the seal faces cyclically. It is the quiet cause behind a lot of repeat failures.
When to stop and call someone
If the same pump eats seals on the same timescale, the seal is not the problem. Get the operating conditions checked against the original design intent: suction conditions, flow well away from best efficiency point, temperature at the faces, and whether the flush plan still suits the duty.
We supply cartridge seals, component seals and FFKM O rings with same day despatch on common sizes ordered before 2pm, and I will read a failed seal photograph and tell you what it died of.
Andrew Sykes MCGI, 36 Years Solving Seal Problems
Send a photo of the failed faces to Acumen Seals and I will tell you what caused it.
Questions and answers
How do you replace a mechanical seal on a pump?
Isolate and lock off the pump, drain and flush the casing, remove the coupling guard and coupling, unbolt the seal gland, withdraw the rotating element, remove the old seal and its stationary seat, clean and inspect the shaft or sleeve, fit the new seat squarely, fit the rotating assembly at the correct setting length, refit the gland evenly, reset the impeller clearance, re align the coupling, then refill and vent before starting.
How long does it take to change a pump mechanical seal?
A cartridge seal on an accessible end suction pump is typically 1 to 2 hours. A component seal that needs the setting length measuring and the shaft inspecting is usually 2 to 4 hours. Add time for coupling alignment, which is where most of the reliability is won or lost.
Do I need to remove the pump to change the seal?
Not usually. Back pull out designs let you withdraw the rotating element while the casing and pipework stay in place. Close coupled and small inline pumps often have to come out.
What is the setting length on a mechanical seal?
It is the axial distance that sets the spring compression on the seal faces. Too short and the faces run without load and leak. Too long and they overload, overheat and crack. Cartridge seals hold this for you with setting clips, which is why they are far more forgiving to fit.
Why does a new mechanical seal fail straight away?
The usual causes are dry running during commissioning because the pump was not vented, a damaged O ring on assembly, faces contaminated with grit or fingerprints, incorrect setting length, or coupling misalignment putting the shaft off centre.
Should I fit a cartridge seal instead of a component seal?
If your site changes seals more than once a year or fitting errors keep repeating, yes. A cartridge arrives pre set and pre assembled, so the two biggest fitting mistakes, wrong setting length and damaged faces, are removed from the job.
Solutions related to this article
If this failure mode sounds familiar, these are the products and services that usually fix it.
- Cartridge SealsPre assembled seal units that remove setting errors on pumps, mixers and agitators.View details
- Component SealsSeal faces, springs, bellows and secondary seals in carbon, silicon carbide and tungsten carbide.View details
- FFKM O-RingsPerfluoroelastomer O-rings for aggressive chemistry and temperatures to 325C.View details
Experiencing a Seal Failure?
Get expert advice and fast solutions from Acumen Seals & Pumps. With 36+ years of experience, we solve seal problems quickly and efficiently.
Founder and Mechanical Seal Specialist, Acumen Seals & Pumps
Published on 2026-09-07
45 years in engineering and 36 years in sealing. Andrew specifies, supplies and troubleshoots mechanical seals, FFKM elastomers and pump sealing systems for UK industry.
More about Andrew